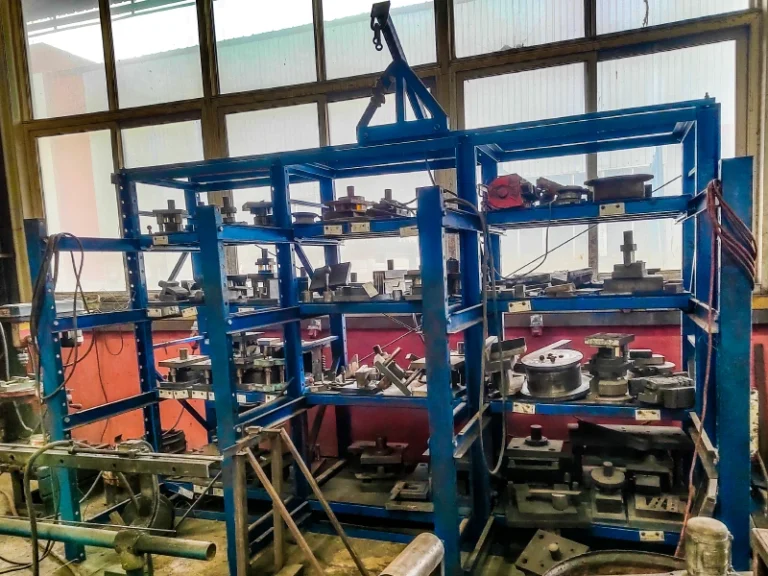
SAFE 2-TON MOLD HANDLING
Store and access 2-ton molds with a controlled roll-out path
A 2-ton mold is not a normal shelf load: once a drawer is pulled forward, the load creates forward moment, and manual handling adds crush, strain, and uncontrolled-movement risk.
Erack is a heavy-duty die storage rack for injection and stamping molds, with a single-level load range documented at 1,000–3,000 kg. For a 2-ton application, the safety concept is a complete system—not a rack alone: a three-post roll-out frame supports the extended tray, a front safety locking pin controls unintended movement, rear solid tie rods resist lateral sway and torsion, and base anchors transfer rack reactions into a suitable hardened floor. The tray is designed for 100% horizontal pull-out so an overhead crane or electric hoist can approach the mold vertically. Final section capacity, tray dimensions, anchor design, crane capacity, lifting accessories, and floor suitability must be checked against the actual mold and site before release.
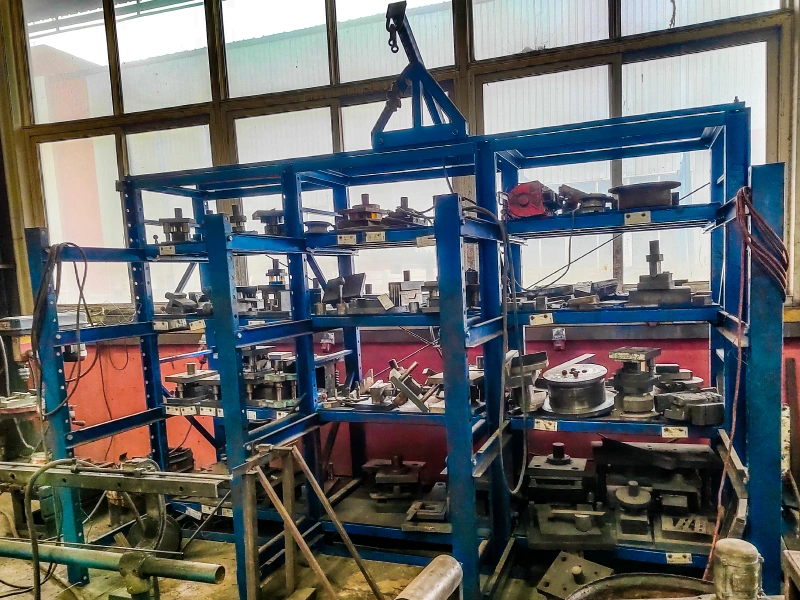
- Three-post front support keeps the fully extended heavy tray supported at the pull-out end; the final arrangement must be engineered for the stated mold mass and geometry.
- Safety locking pins, rear tie rods, and floor anchoring address different risks and work together as a controlled anti-tip and anti-drop arrangement.
- Full-extension horizontal access creates a vertical lifting line for an overhead crane or hoist, avoiding a need to pull the mold sideways with a forklift.
Choose the handling arrangement around your site
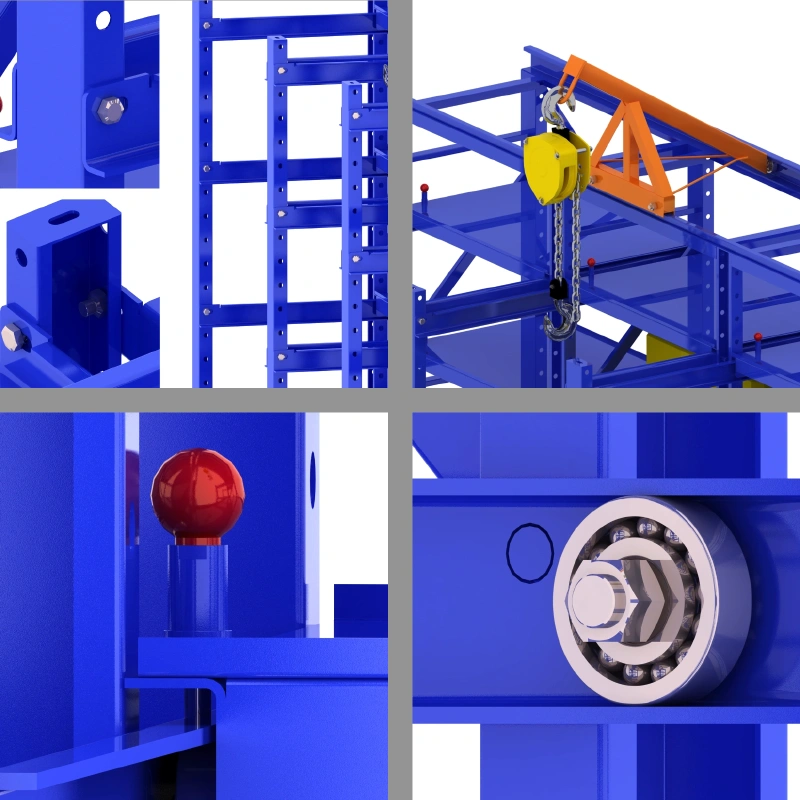
Manual roll-out with overhead crane
For sites with a verified crane or hoist, suitable lifting accessories, and a compliant work procedure. The bearing-supported drawer reduces push/pull effort, but it does not remove the need for floor anchoring, load control, or trained lifting operations.
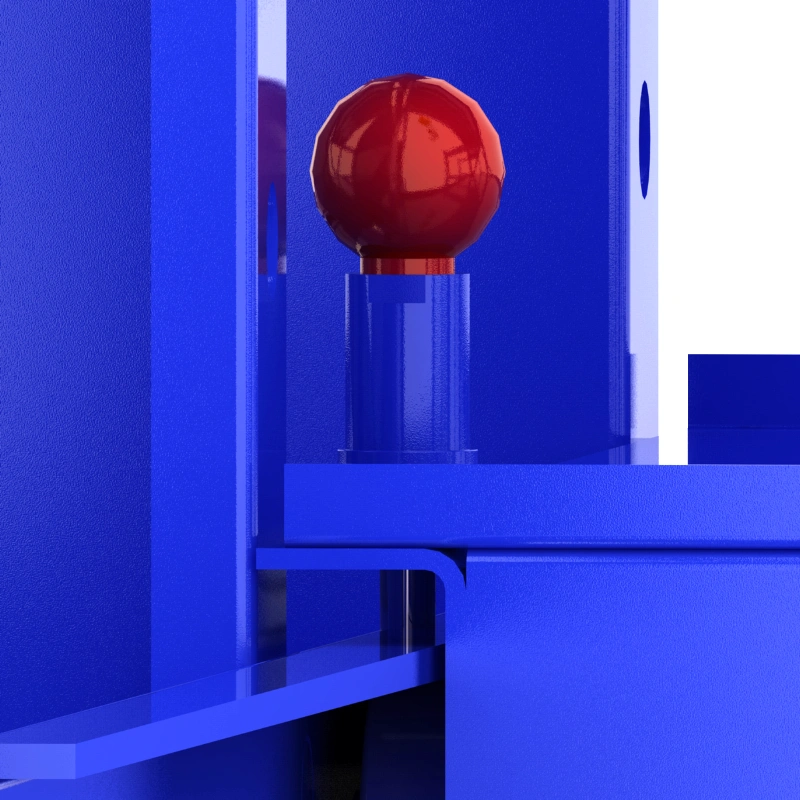
Pneumatic-assisted roll-out
For teams that need to reduce operator force or have a manual-handling restriction. A pneumatic cylinder and controlled valve can assist drawer travel; confirm available air supply, controls, guarding, and the crane path during engineering review.
Site-adapted heavy-duty configuration
For 2-ton molds with unusual length, width, height, center of gravity, or lifting points. Rack depth, layer spacing, guide construction, bracing, anchor layout, and hoist clearance should be confirmed from the mold drawing and floor survey rather than selected from a generic shelf rating.
Not a fit without the lifting and floor prerequisites
A soft, cracked, thin, or unverified floor; no approved overhead lifting coverage; inadequate clear height; or a plan to use the rack as an unanchored movable shelf are stop conditions. Use a different storage and handling method or complete the required site upgrades first.
Why the safety chain matters at 2 tons
Manual handling creates a preventable exposure
A 2-ton mold cannot be safely treated as a hand-moved object. Pushing, prying, or repositioning it without controlled lifting can expose people to crush points, back strain, load shift, and impact. The rack provides a guided storage interface; the crane or hoist performs the vertical lift.
Forward moment rises when a drawer is extended
As a loaded tray moves out, its center of gravity moves away from the rack base. A two-post arrangement leaves the front of the tray less supported when fully extended. The three-post arrangement adds a front support path so the extended load is carried through a wider support structure; it still requires the specified anchors and a review of the actual load position.
Each restraint has a separate job
The safety pin limits unintended drawer travel or release at the guide front. The rear 8 mm solid tie rods with turnbuckles help control lateral movement and torsional distortion. Base anchors resist movement at the floor interface. None of these parts replaces the others, and none makes an unsuitable floor or an uncontrolled lift acceptable.
Bearings reduce travel effort, not lifting risk
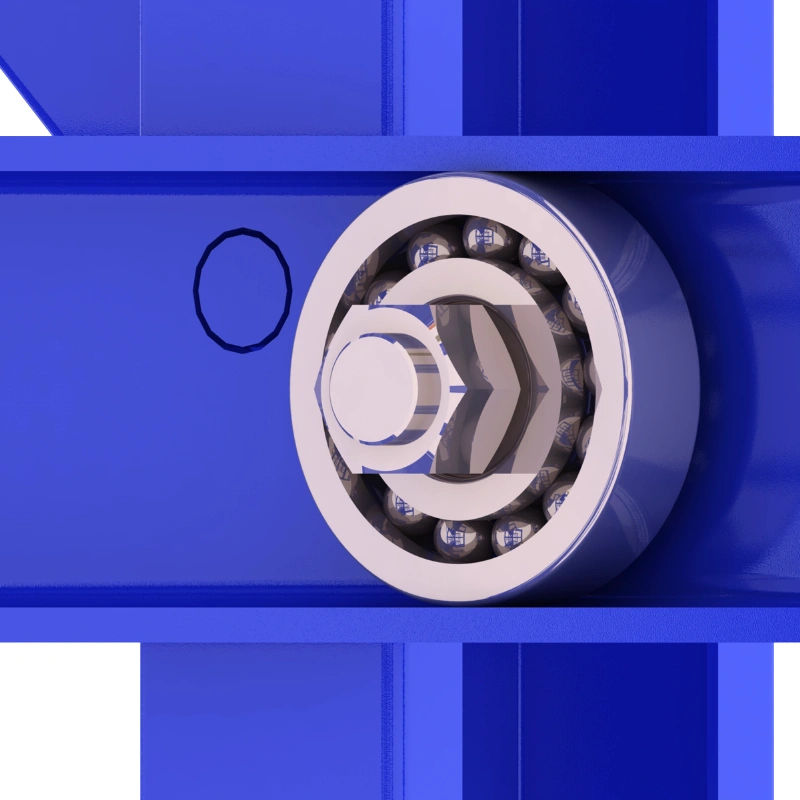
Steel bearing rollers convert much of the drawer movement from sliding to rolling, allowing a controlled horizontal pull-out when the rack is correctly loaded and maintained. They do not change the mold weight, authorize simultaneous open drawers, or replace the crane, hoist, and lifting plan.
The rack is a crane-access storage station
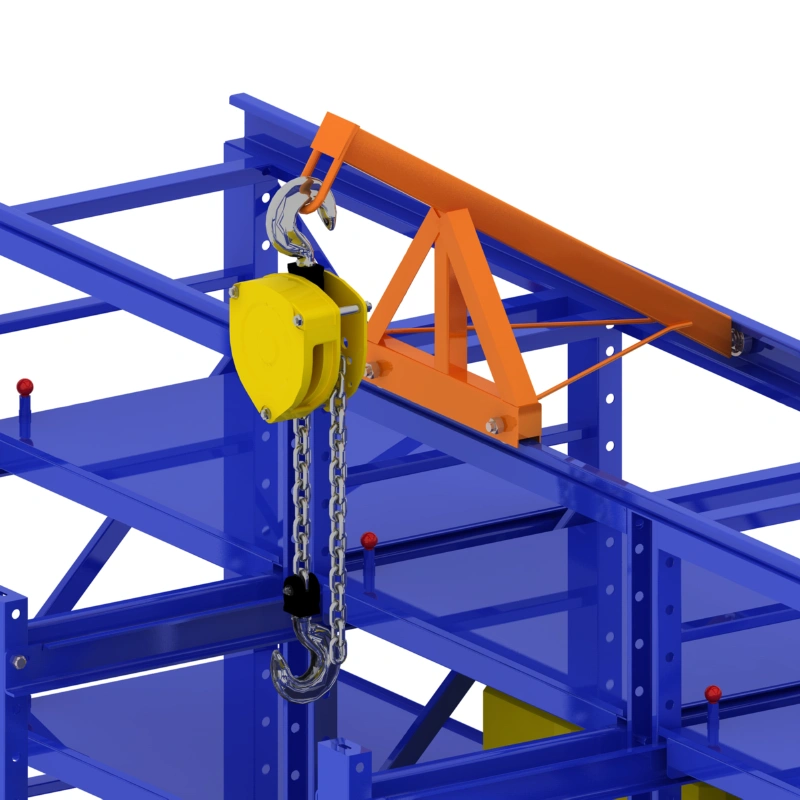
With the correct drawer selected and fully accessible, the overhead lifting device can lower vertically onto the mold, lift clear of the tray, and travel along a planned route to the machine or staging point. Avoid side-pulling, suspended-load travel over people, and any move that exceeds the crane or accessory rating.
Build the safe 2-ton access path before delivery
-
1. Survey the mold and the floor
Submit the mold mass, maximum length/width/height, center of gravity, lifting points, tray quantity, and required clearances. Verify floor thickness, concrete condition, levelness, and whether high-strength anchors can be installed without damaging the slab.
-
2. Verify the overhead lifting route
Confirm that the crane or electric hoist is rated for the mold plus lifting accessories, covers the rack and destination, and has enough upper clearance to lift over the rack frame. Define the vertical pick-up point, travel route, exclusion zone, and landing position.
-
3. Configure, install, and verify the restraints
Select the 1–3 ton-per-level range only as an initial product envelope; final design depends on the actual load and geometry. Engineer the three-post frame, guide rails, drawer reinforcement, safety-pin positions, rear tie-rod tension, base plates, and anchor layout for the site.
-
4. Operate one controlled move at a time
Keep other drawers closed and secured. Release only the selected drawer restraint, pull it out under control, and position the crane hook and approved accessories vertically over the mold center of gravity. Lift only after the load is balanced and the route is clear; then close, lock, inspect pins, rails, anchors, bracing, and debris accumulation on schedule.
Questions EHS and workshop managers ask first
Why is a 2-ton mold dangerous in a conventional rack?
The mass itself creates a severe crush and impact hazard. When a drawer is pulled forward, the center of gravity shifts and the front guide sees higher reaction forces; manual prying or an uncontrolled lift adds further risk. A rack must be matched to the actual load, anchored to a suitable floor, and used with approved overhead lifting equipment.
What is more stable about three posts than two?
The third, front support provides a load path under the extended end of the drawer, reducing the unsupported overhang compared with a two-post layout. It is a structural advantage, not a stand-alone guarantee: the rack still needs the specified tie rods, base anchors, correct loading, and engineering verification for the actual mold.
What does each safety component prevent?
The safety pin controls unintended drawer travel or release. The rear tie rods resist lateral sway and torsional movement. The floor anchors restrain the rack at its base and transfer overturning and pull-out reactions into the floor. They must be installed and checked as one system.
How should the crane path be established?
Map a vertical pick-up from the fully accessible drawer to the mold center of gravity, then confirm hook height, rated capacity, lifting points, accessory angle, rack clearance, destination, and an exclusion zone. Do not side-pull the mold or move a suspended load over people. The site lifting plan and local safety rules control the final procedure.
Which site conditions must be solved before ordering?
The floor must be hard, level, structurally suitable, and capable of accepting the specified anchors. Cracked or thin slabs, soft ground, loose tiles, or an unverified epoxy-over-base condition require a floor survey and corrective work before installation. No approved overhead lifting coverage or inadequate clear height are also stop conditions.
Can every drawer be opened at once, and is pneumatic assistance required?
No. The operating rule is one controlled drawer at a time, with other drawers fully returned and secured. Opening multiple loaded drawers can move the combined center of gravity forward and create an overturning condition. Pneumatic assistance can reduce drawer travel effort, but it does not lift the mold or replace the crane, anchoring, safety pins, or a verified procedure.